Support - Windows Mail & Live Mail Setup


1. In Windows Mail / Windows Live Mail, go to the Tools menu and click on Accounts.
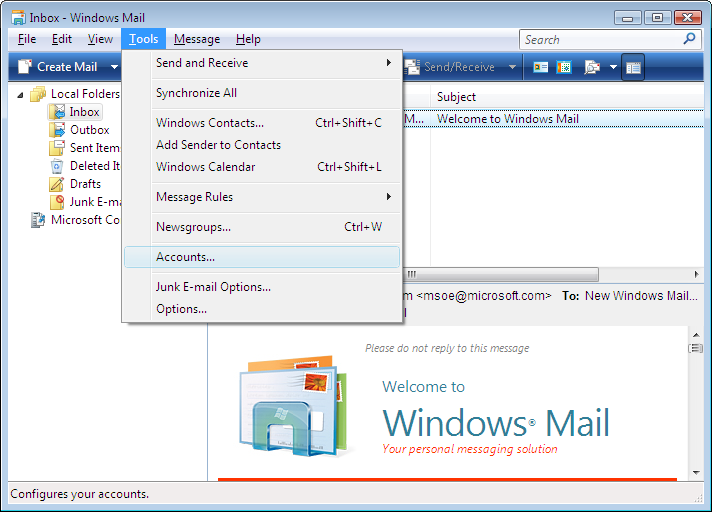
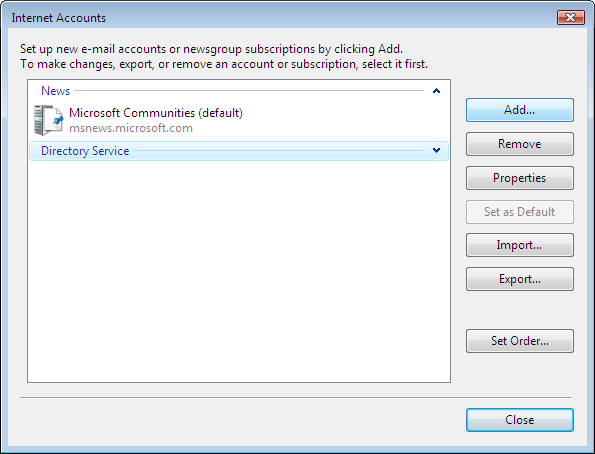
2. Click on the Add button in the upper right.
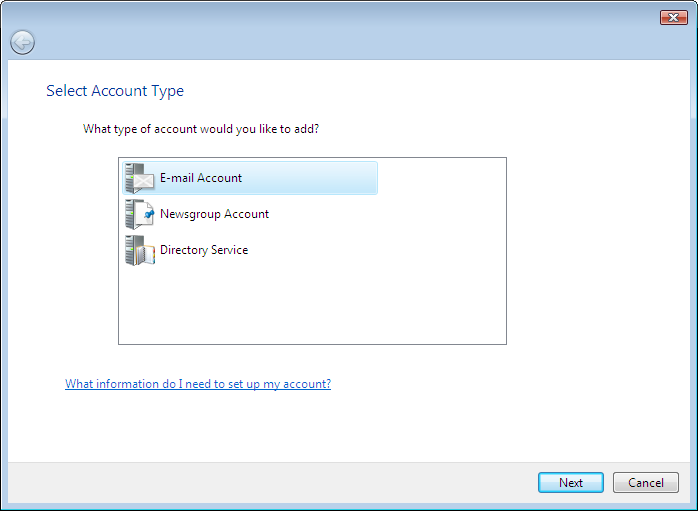
3. In the Select Account Type window, double-click on E-mail Account.
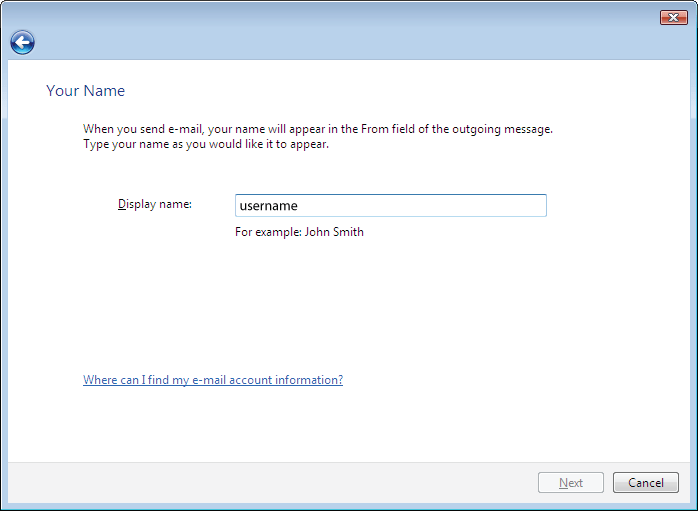
4. In the Your Name window, type in the name you want your recipients to see when they receive your e-mails, then click on Next.
5. In the Internet E-mail Address window, type in your e-mail address, then click on Next.

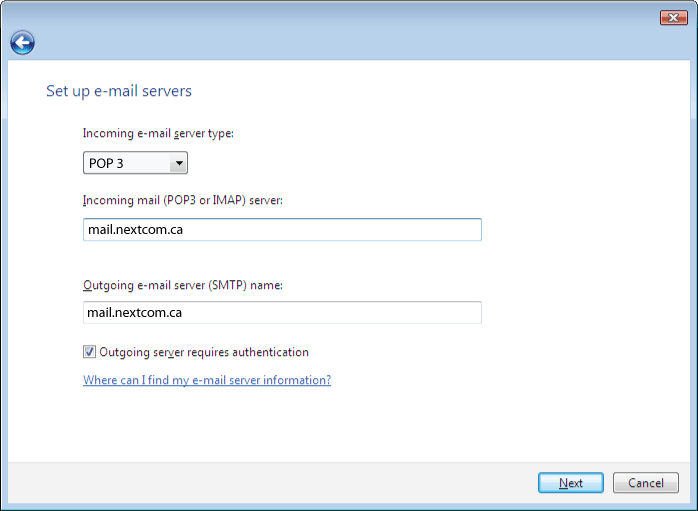
6. In the Set Up E-mail Servers window, enter the e-mail server information as shown below.
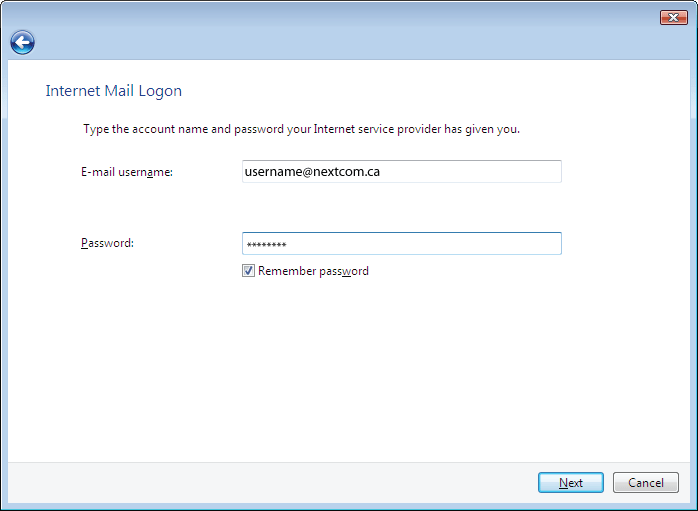
7. In the Internet Mail Logon window, enter your Internet ID and password for your e-mail account (you don't need to enter the password, but if you do, you will automatically log on to the e-mail server everytime you open Windows Mail as long as the check is in the box next to Remember Password).
8. You should see the following screen; check the Do not download my e-mail and folders at this time box, then click Finish.

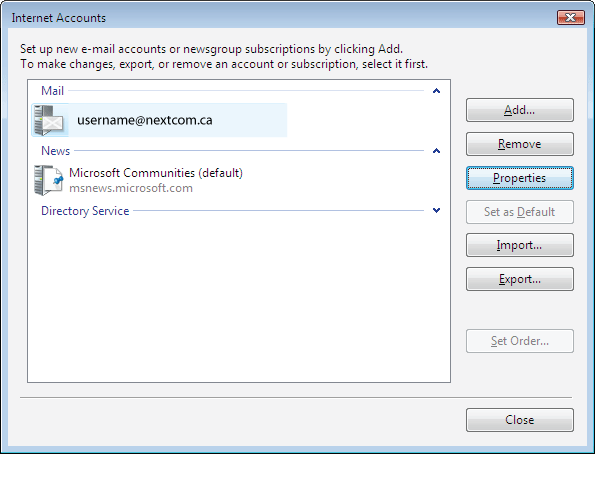
9. You should now end up at the Internet Accounts screen; double-click on your e-mail account.
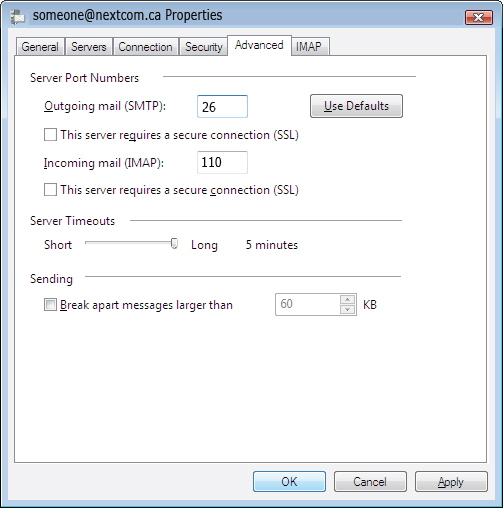
10. At the top of the Properties window that appears, click on the Advanced tab and verify your settings are the same as in the image below. * Change Outgoing Mail to "26".
11. Congratulations, you have successfully set up Windows Mail / Windows Live Mail to handle your e-mail!
